What is FlightTracker OS?
FlightTracker OS is a pre-built Raspberry Pi image that has everything installed and configured for you - no command line required.
It bundles the FlightTracker software, the RGB matrix drivers, and a web-based installer into a single image. You flash it to an SD card, power up, and finish setup from your browser.
It supports the Raspberry Pi 3, 4, and 5, in both 32-bit and 64-bit flavours. If you're using a Pi Zero, Pi Zero W, or Pi Zero 2, use the quick-install script over SSH instead.
Flash it to an SD card with Raspberry Pi Imager, set your Wi-Fi details, flash, and boot. You can then log into the web installer and finish setup from your browser.
Flashing the image
If you have Raspberry Pi Imager 2.x installed, you can write the FlightTracker OS image straight to an SD card using RPi Imager.
 Click To Install With RPi Imager
RPi Imager will ask you to confirm the custom repository before loading it.
If the button does not work, open RPi Imager and add this URL manually under App Options → Content Repository → Custom URL:
https://raw.githubusercontent.com/ColinWaddell/FlightTracker-Image/refs/heads/main/os_list.jsonHow it works
- Follow the details above to open up the image in RPi Imager
- Select your device type and whether you want the 32-bit or 64-bit version installed
- 32-bit is best for Pi 3 (32-bit compatibility)
- 64-bit should be good for everything else
- Set your Wi-Fi details
- Choose a device name (e.g.
flighttracker) - Let RPi Imager prepare your SD card
- Once it's finished remove the card from your computer and put it in your Raspberry Pi
- Power everything up
- The Pi connects to your Wi-Fi automatically using the credentials you (hopefully) set earlier
- Visit
http://flighttracker.local:8584/in your browser (tweak the url based on the hostname you gave this device). - The web installer guides you through the rest
- When it's done the Pi reboots and the FlightTracker app starts up on the matrix
Step by step
First, download and install Raspberry Pi Imager on your computer.
Use a decent quality microSD card with at least 8GB of space. Cheap cards can cause random crashes and slow installs, and they have a higher chance of randomly dying.
Stick a microSD card into your computer and open the Imager. The steps are:
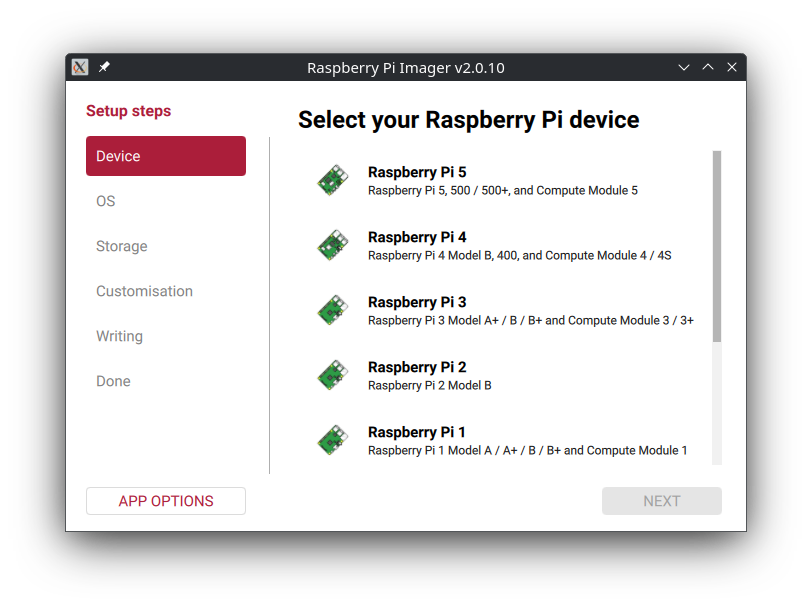
- Choose your device - pick the Raspberry Pi model you're using (3B, 4B, 5, etc.).
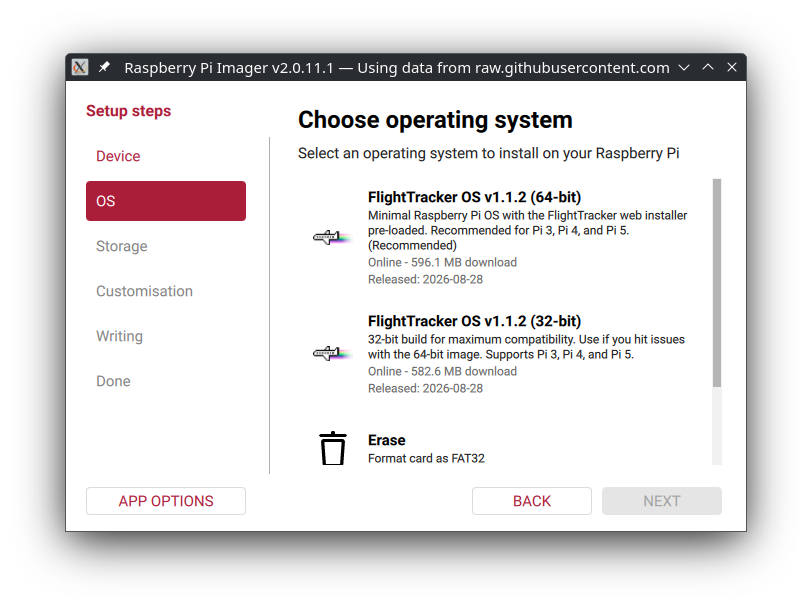
- Choose your OS - after loading the FlightTracker repository (using the button or URL above), pick FlightTracker from the OS list, then choose the version for your Pi. Go with 64-bit unless you have a Pi 3, in which case pick 32-bit.
- Choose your storage - select your microSD card. Double-check you've picked the right one, because everything on it is about to be wiped.
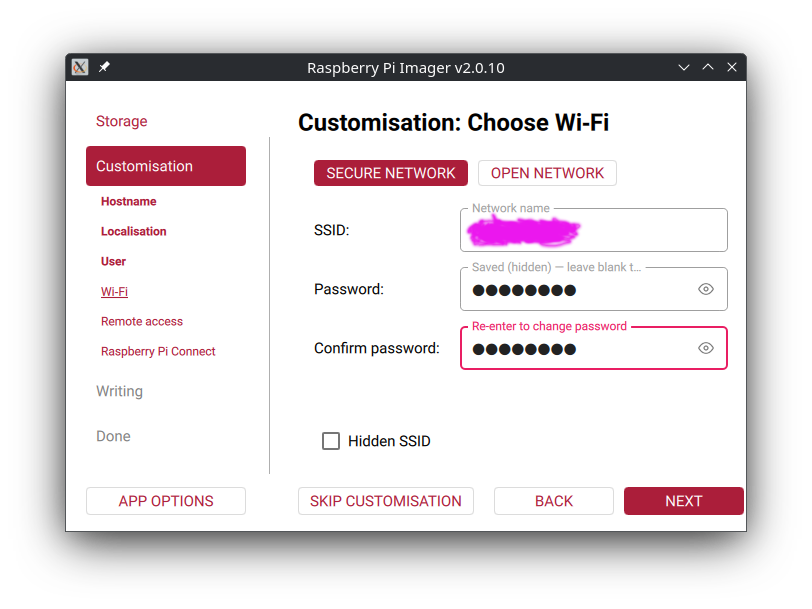
- Edit the settings - before you write, the Imager will offer to apply OS customisation settings. This is where you set up:
- A hostname for your Pi (something like
flighttrackermakes it easy to find on your network). - Your Wi-Fi details, so the Pi can join your network on first boot.
- A hostname for your Pi (something like
- Write - hit the button and wait. The Imager writes the image, verifies it, and applies your settings in one go.
Once that's done, eject the card, slot it into your Pi, and power it on - then head to first boot below.
Run on the device
Once the card is written, eject it, slot it into your Pi, and power it on. Give it a minute or two to boot and join your network using the Wi-Fi credentials you set in the Imager.
On first boot the screen stays dark while the system prepares itself - the FlightTracker app doesn't start until the web installer has finished. Instead, the device brings up a small web server you can reach from your browser at http://flighttracker.local:8584 (using the hostname you set in the Imager) or http://<your-pi-ip>:8584.
If the .local hostname doesn't resolve on your network, you can find the Pi's IP address from your router's admin page and use that instead.
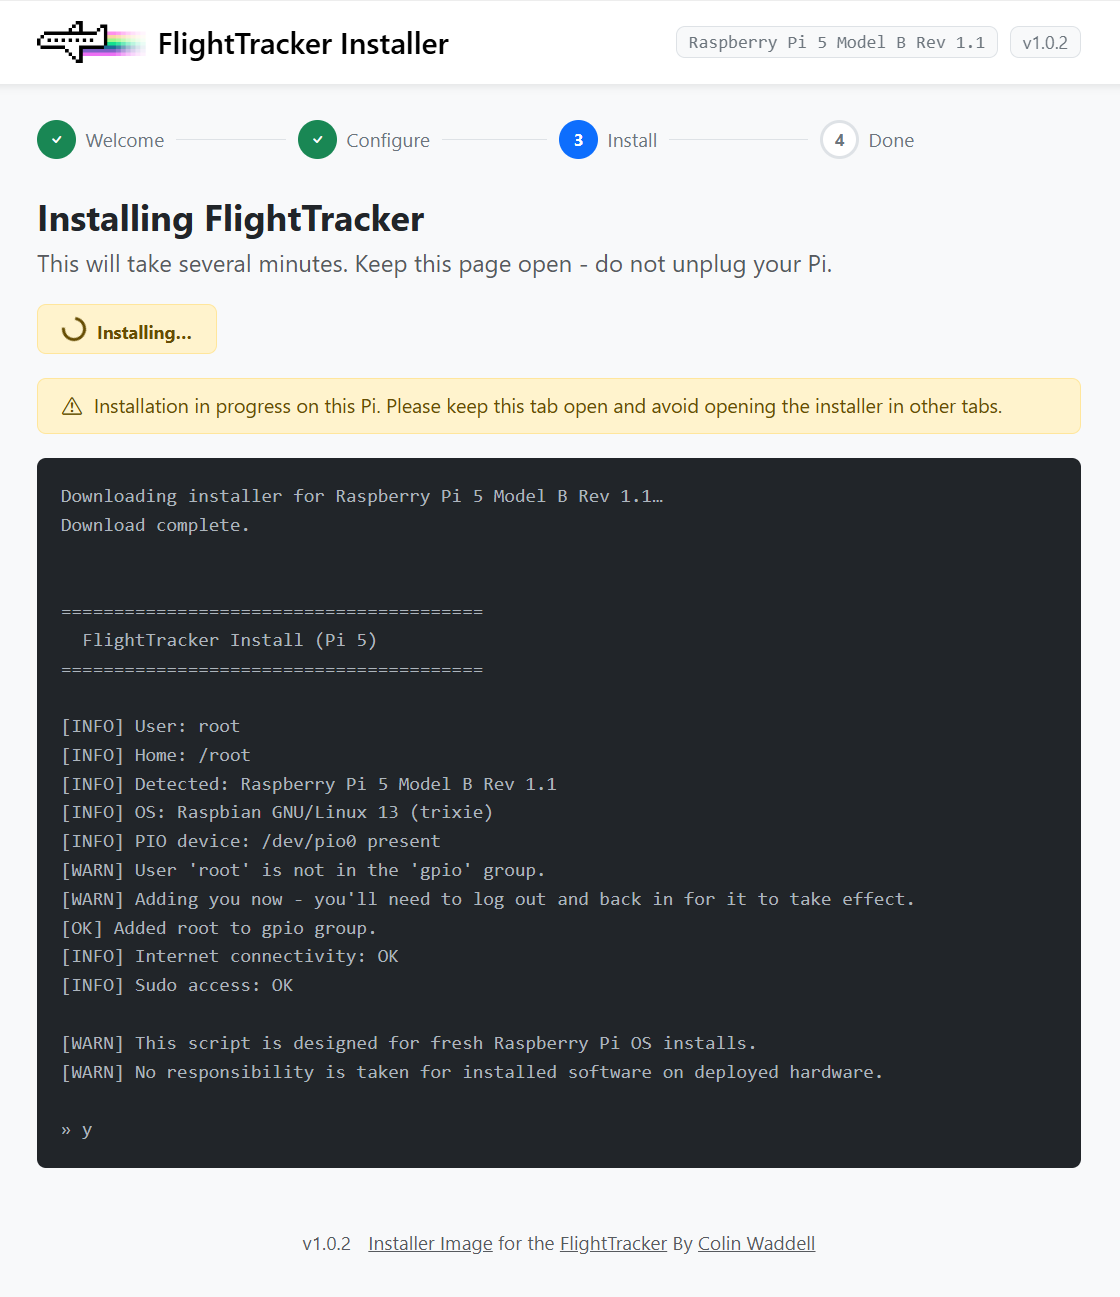
Load the web installer
When you open the web interface you're greeted by the built-in web installer. It guides you through the remaining setup steps from your browser.
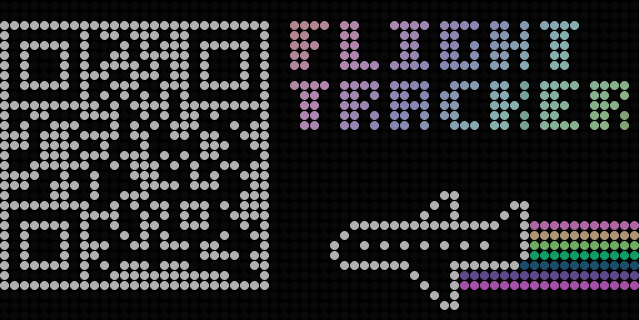
After the installation process completes the device will reboot and the FlightTracker app starts for real: the matrix comes to life and shows the QR code splash screen so you can scan it with your phone and jump straight back into the configuration UI. The same web UI is always available at http://flighttracker.local:8584.
Downloads
Pre-built images are available to download directly from the releases page on GitHub, if you'd rather flash the image file yourself.
Prefer to build things up yourself? The install guide covers the quick installer script, manual installation, and upgrading from v1.
